PSD Tutorial : Create A Realistic Coffee Cup

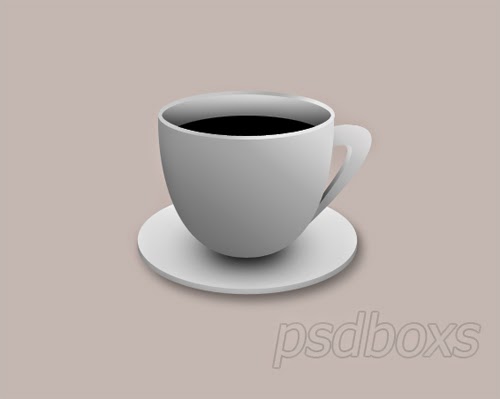
Creating realistic cup of coffee is not difficult. You can utilize smart tools in Photoshop. In this tutorial will explain how to create a realistic coffee cup using Photoshop. Well just let's get started!
Step 1
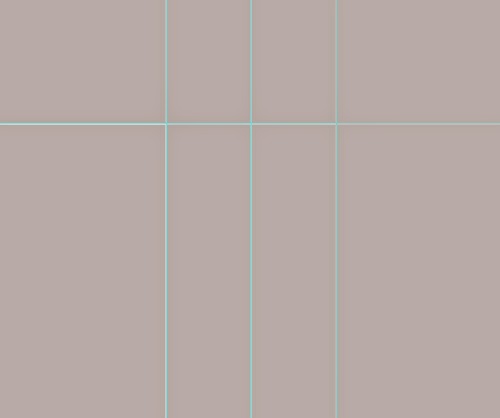
Create a new document width: 600px height: 500px and choose View - New Guide 200px Vertical position the guide, 300px, 400px 150px Horizontal see in the image below.
.jpg)
Step 2
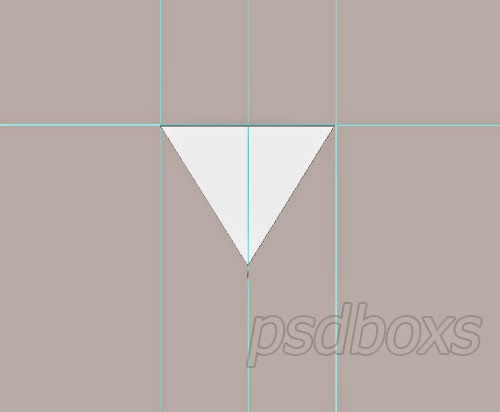
Use the Pen Tool to create selection as shown in the picture below.
.jpg)
Step 3
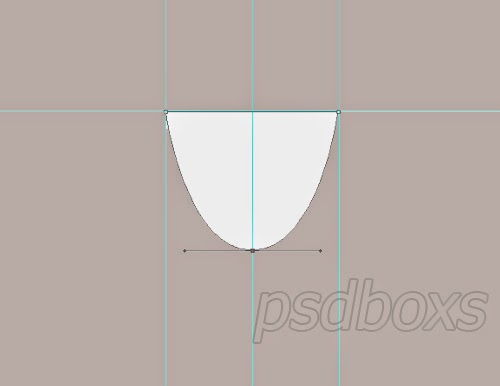
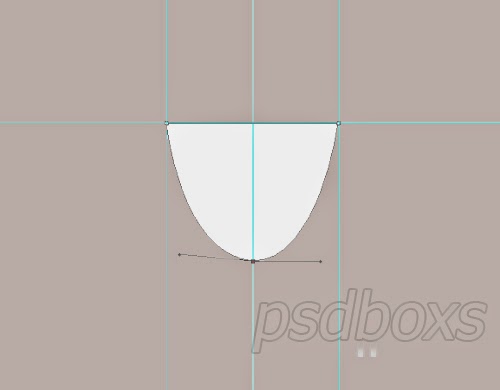
Click and hold down the bottom end of the slider to the right to use the Convert Point Tool.
.jpg)
.jpg)
.jpg)
Step 4
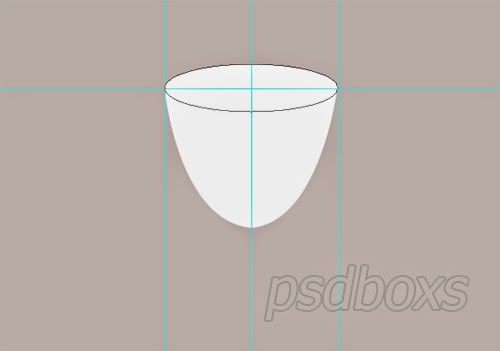
The next step create the circle with the Ellipse Tool.
.jpg)
Step 5
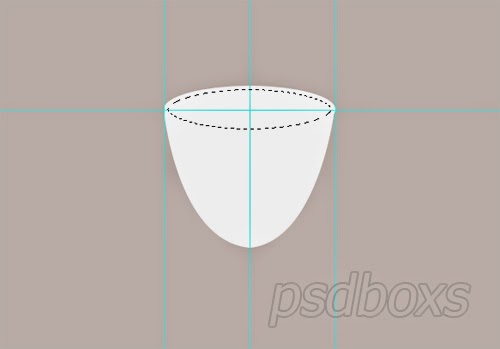
Selection of the circle and choose Select - Modify - Contract input number 4.
.jpg)
.jpg)
Step 6
Create a new layer and fill the white color do change the Set Foreground Color white color and press alt + delete on the keyboard.
.jpg)
Step 7
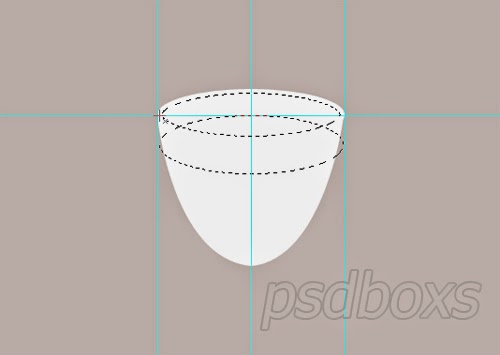
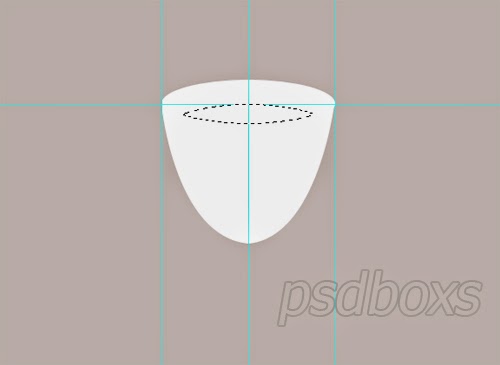
Still in a state selected at layer 1 using the Elliptical Marquee Tool and activate the Intersect with selection create a selection like in the image below.
.jpg)
.jpg)
Step 8
Create a new layer and fill the selection with black.
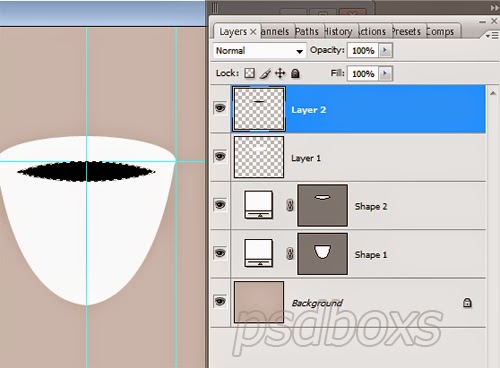.jpg)
.jpg)
Click the Shape1 layer add a Gradient Overlay layer style and set as shown below.
.jpg)
.jpg)
.jpg)
.jpg)
Step 10
Click the Shape2 Layer add a Gradient Overlay layer style and set as shown below
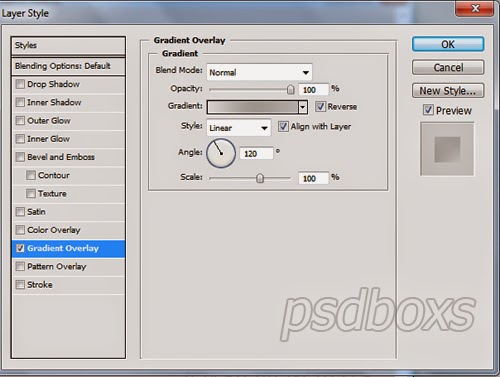.jpg)
.jpg)
.jpg)
Step 11
Click on Layer 1 add a Gradient Overlay layer style and set as shown below.
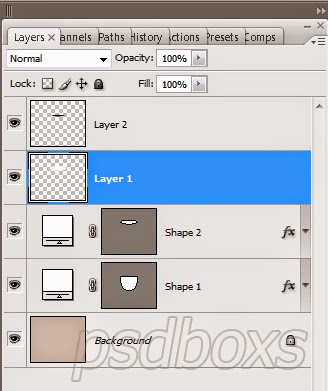.jpg)
.jpg)
.jpg)
.jpg)
Step 12
Use the Pen Tool to create a handle of the cup, see picture below.
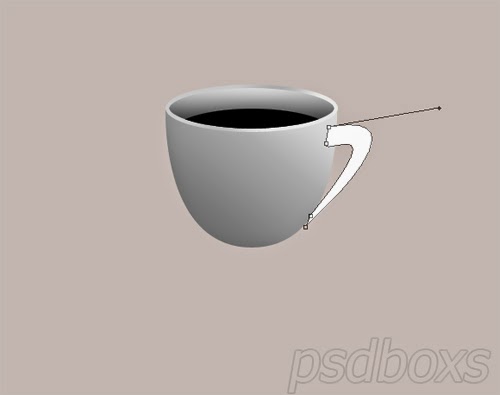.jpg)
Step 13
Press ctrl + alt and press the right arrow on your keyboard to duplicate shape3 five times.
.jpg)
Step 14
Selection Shape3 to Shape 3 Copy 4 and press Ctrl + E to create Shape into one.
.jpg)
.jpg)
Step 15
Click the Shape 3 copies 5 Layer add a Gradient Overlay layer style and set as shown below.
.jpg)
.jpg)
.jpg)
Step 16
Click the Shape3 Copy 4 Layer add a Gradient Overlay layer style and set as shown below.
.jpg)
.jpg)
.jpg)
Step 17
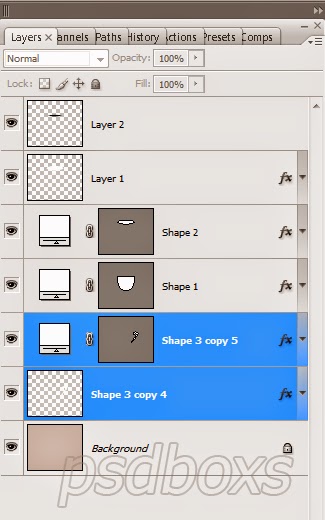
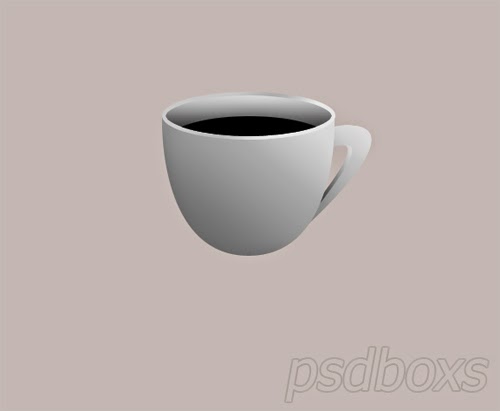
Move Shape3 copy 5 and Shape3 copy 5 under shape 1.
.jpg)
.jpg)
Step 18
Now create a place for cup plates. Using the Pen Tool create circle of white color at the bottom of the cup.
.jpg)
Step 19
Put the cursor over the Shape 3 Layer press ctrl + alt up arrow on the keyboard six times. Selection Shape3 to Shape 3 copy 6 and then select the menu Select Layer - Marge Layers (Ctrl + E) to unify layer.
.jpg)
Step 20
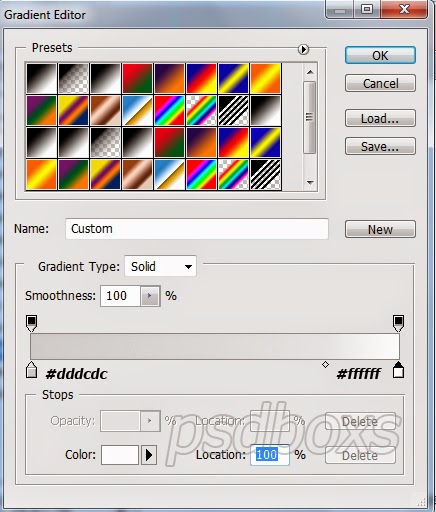
Add a gradient overlay layer style in Shape 3 copy 6 set as shown below.
.jpg)
.jpg)
Step 21
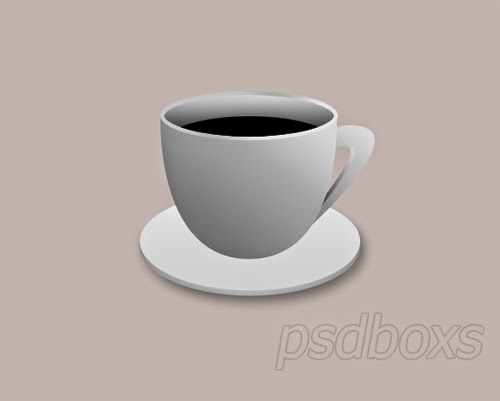
Add a gradient overlay layer style, Inner Shadow, Drop Shadow in Shape 3 copy 5 set as shown below.
.jpg)
.jpg)
.jpg)
.jpg)
.jpg)
Step 22
The next step to make shadow cup. Using the Ellipse Tool and filled with black color.
.jpg)
Step 23
Add a Gaussian Blur with a radius of 27px value. Change Layer Opacity: 68%
.jpg)
Step 24
Repeat step number 23 with a smaller circle size and minimize the value of the radius. Change Layer Opacity: 21%
.jpg)
Step 25
Create a white object using the Pen Tool and then change the Fill: 54%. Look at the picture below.
.jpg)
Step 26
Duplicate last object and change the color # a8a6a6. Next select the Edit menu - Transform - Flip Horizontal toggle Fill: 75%.
.jpg)
Step 27
And this is the final result. Well done!


you are a star in my world. a model and a mentor
ReplyDeletestep 5 is not working for me
ReplyDelete