Designing a Open Laptop in Photoshop

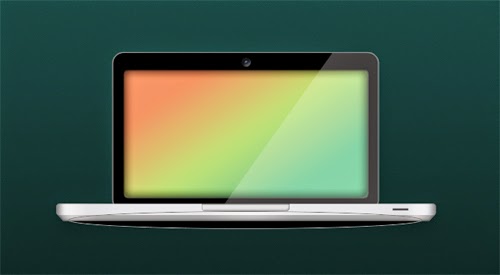
In this tutorial I will show how to design an open laptop on the front using the Photoshop program. To create a realistic look so I used a layer style. Let's follow the step by step tutorial to design a laptop open in Photoshop!.
Step 1
The first step is to open Photoshop program and set width: 1200px height: 700px dark aqua color background # 193f3a.

Step 2
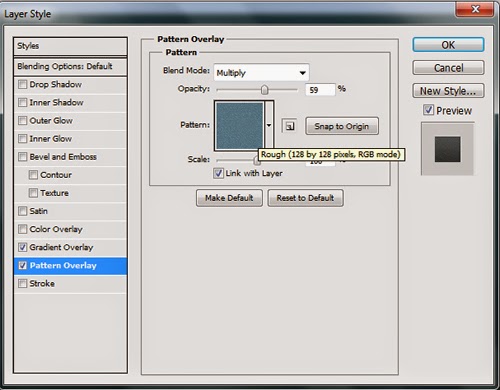
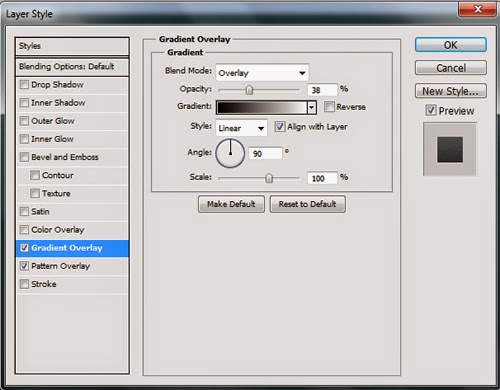
Add layer styles: Gradient Overlay, Pattern Overlay on the Background layer.

Step 3
The next step begin making the laptop design. Activate the Rounded Rectangle Tool with the Radius value: 20px Set Foreground Color to change the previous black color.

Step 4
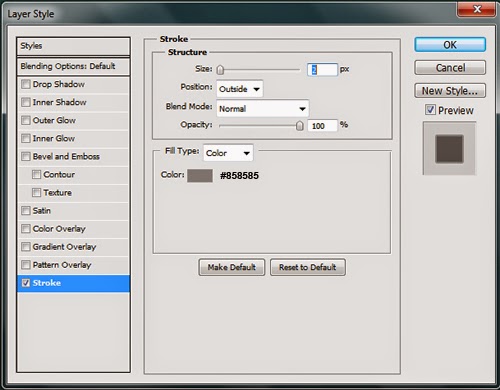
Rename the layer shape 1 with the name "Base" and add layer styles: Stroke.

Step 5
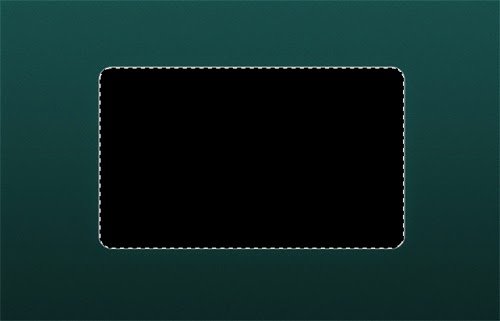
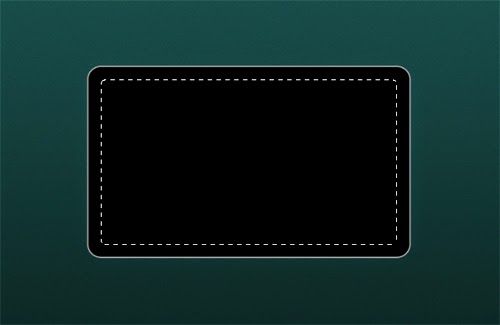
Selection layer: Base (ctrl + click) and then select the menu Select -> Modify -> Contract 20px input value.
Step 6
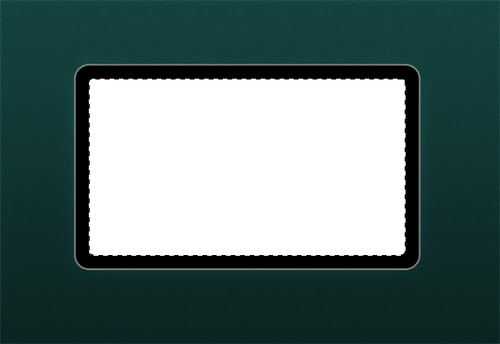
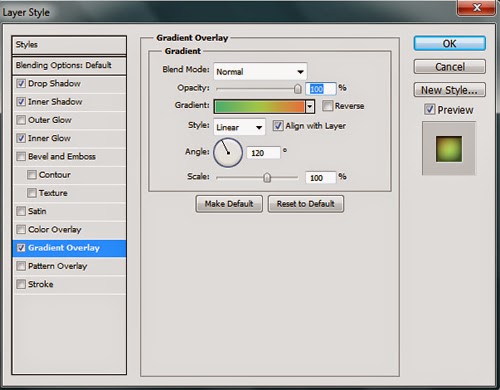
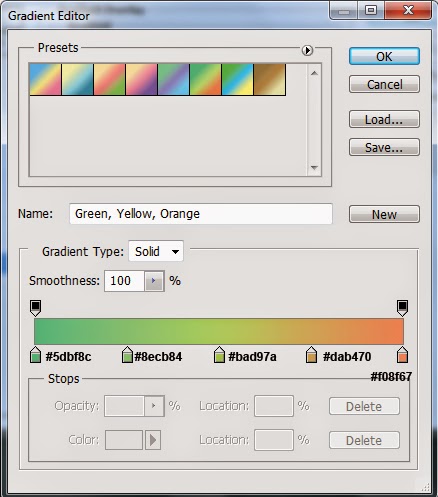
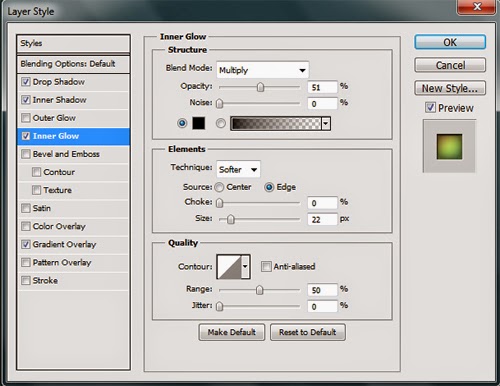
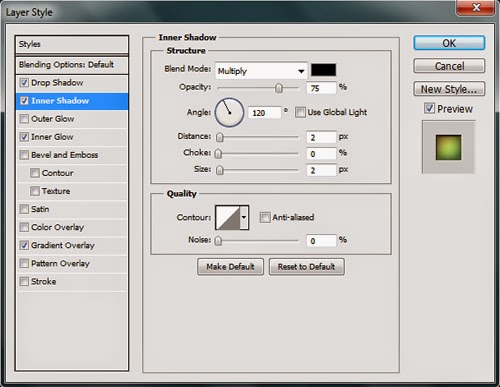
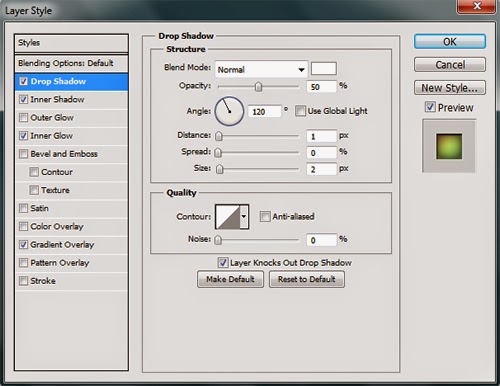
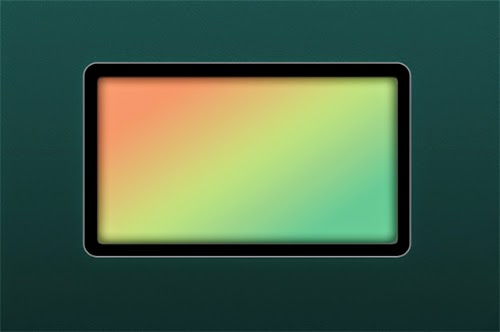
Create a new layer name: Screen and white colors fill the screen. Then add layer styles: Drop Shadow, Inner Shadow, Inner Glow, Gradient Overlay.
Step 7
Now change the layer height screen size scaled down menu select Edit -> Transform -> Scale.
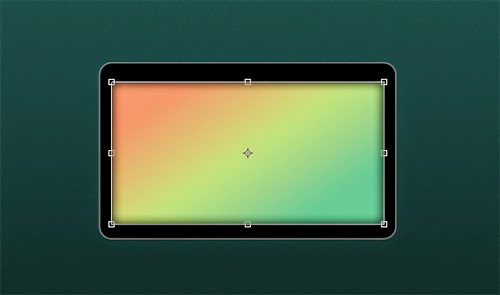
Step 8
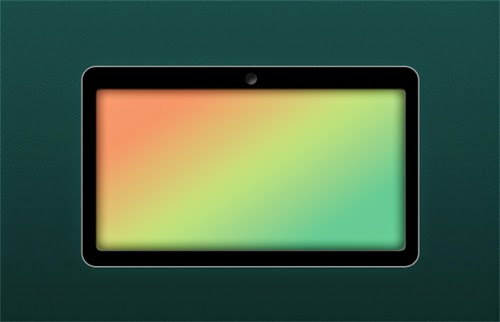
Use the Ellipse Tool to create a small lens Set Foreground Color to change the previous gray color # 3e3e3e old.
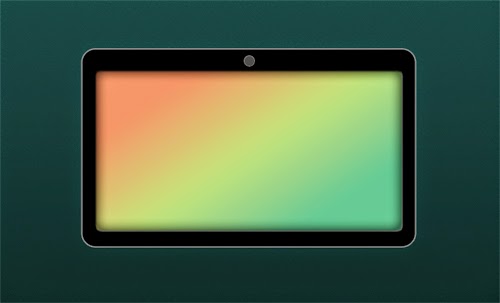
Step 9
Add layer styles: Drop Shadow, Inner Shadow layer lens.
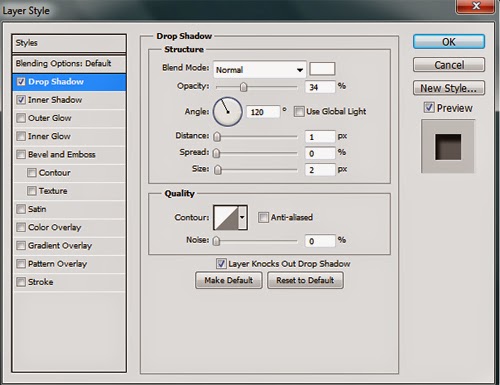
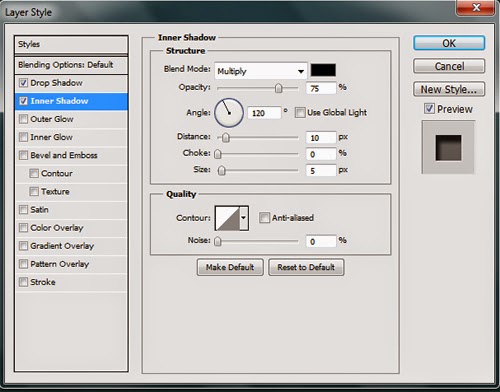
Step 10
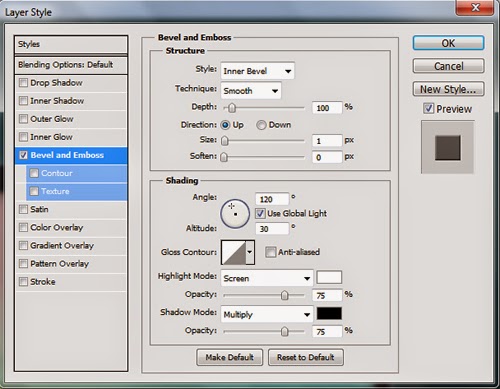
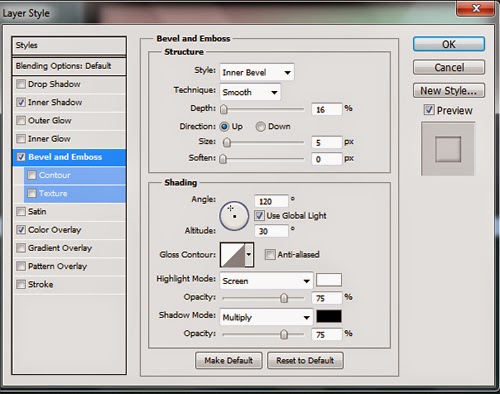
Create eye lens # 0d315d navy blue color and add a layer style: Bevel and Emboss.
Step 11
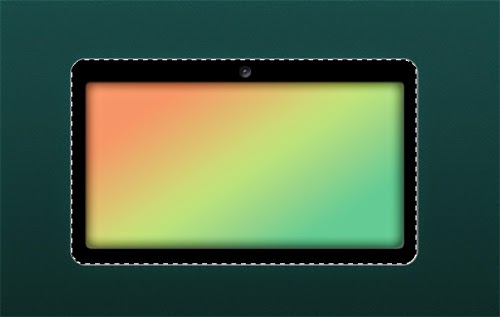
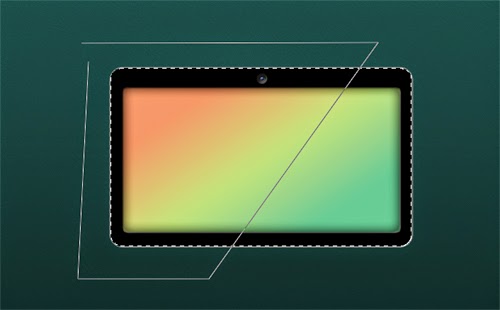
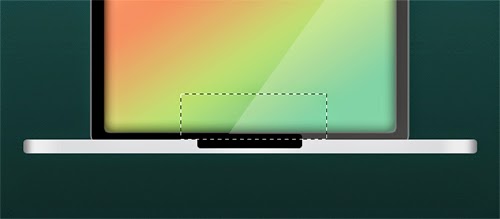
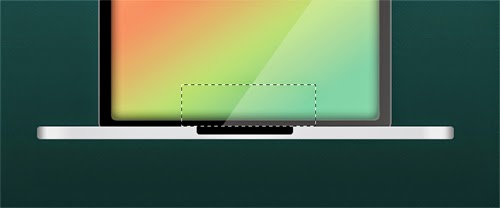
Base layer selection switch next Polygonal Lasso Tool and create a selection like the image below.
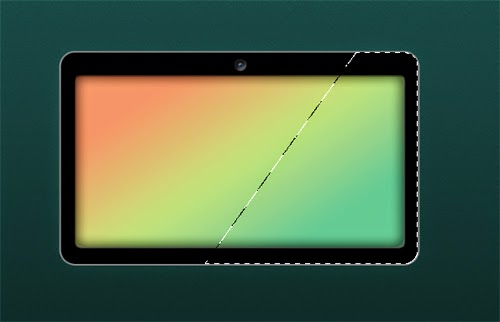
Step 12
Create a new layer name it "Light" filled with white color and set the Opacity: 20%.
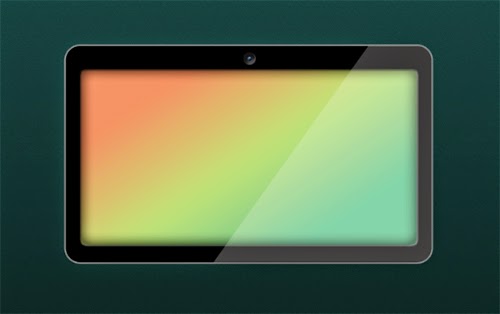
Step 13
The next step is now making board for the keyboard. Activate Rounded Rectangel Tool and set the Radius: 5px.
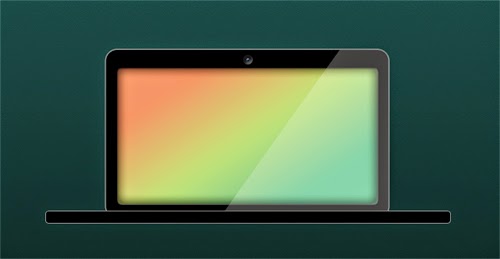
Step 14
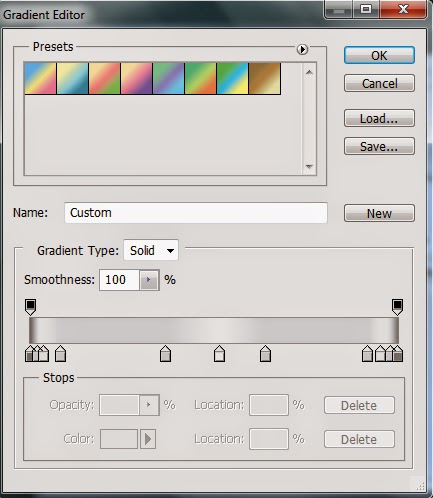
Add layer styles: Gradient Overlay.
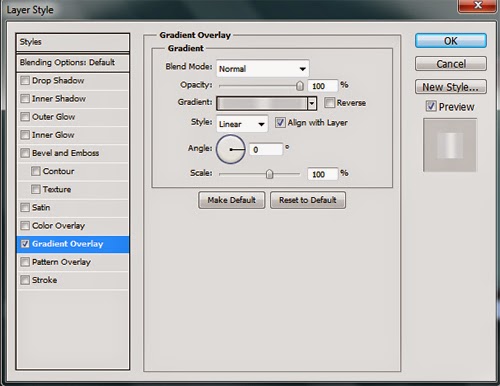



Step 15
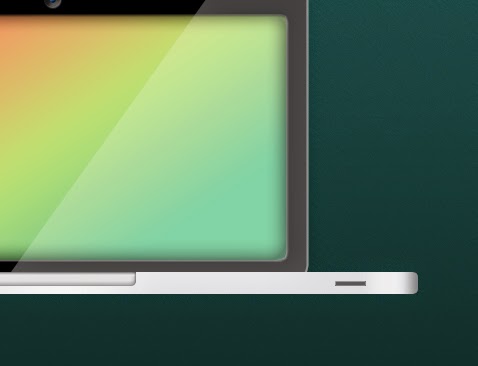
Activate the Rectangle Tool and create a bottom board.
Step 16
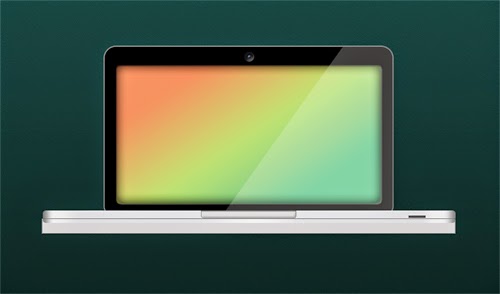
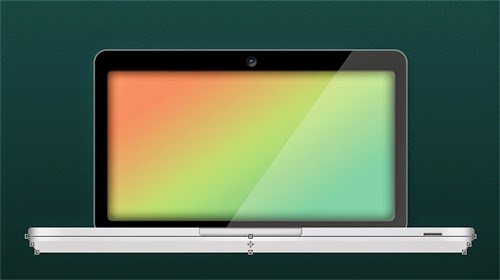
Select the menu Edit -> Transform Path -> Perspective.
Step 17
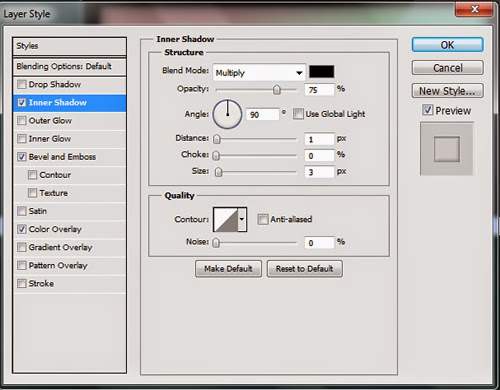
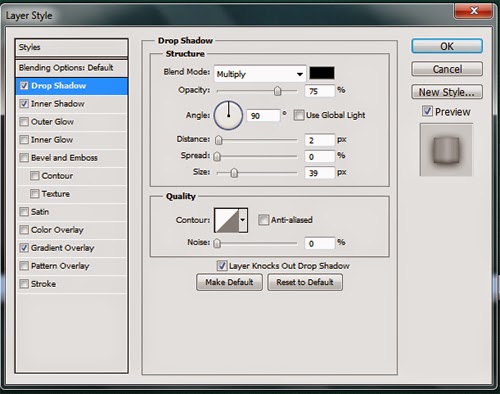
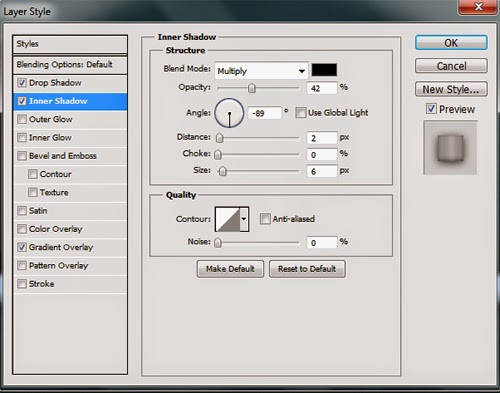
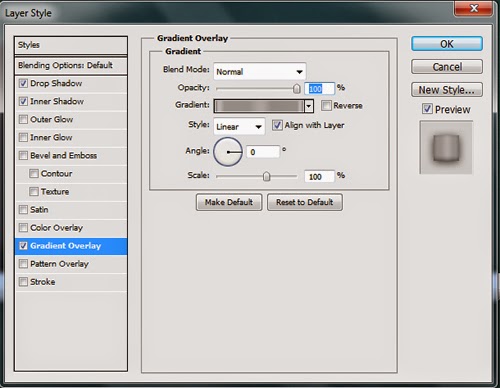
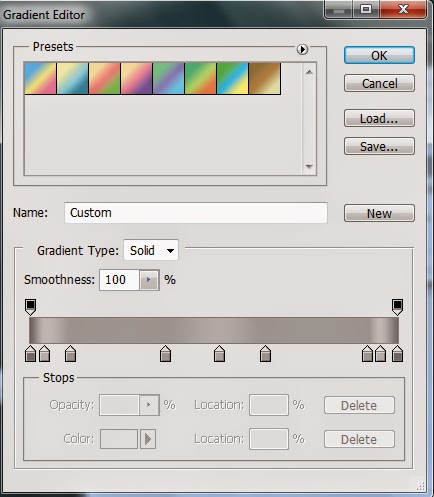
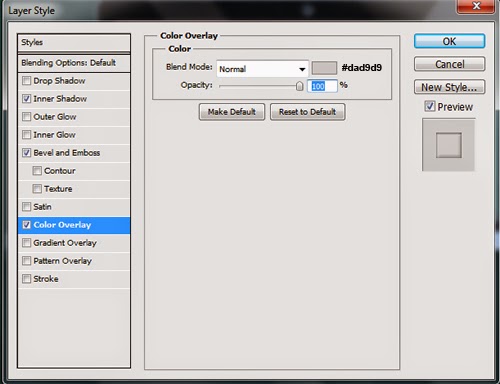
Next add a layer style: Drop Shadow, Inner Shadow, Gradient Overlay.
Step 18
The next step is to make shadows using Ellipse Tool watch in the image below.
Step 19
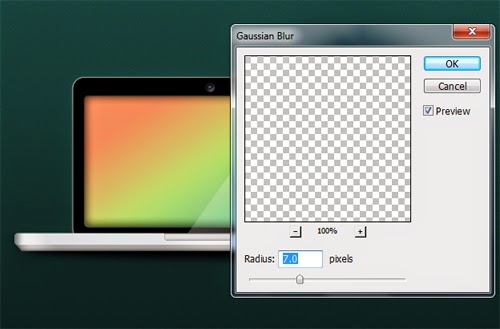
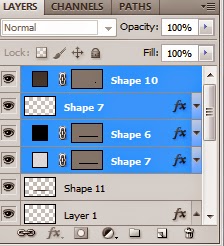
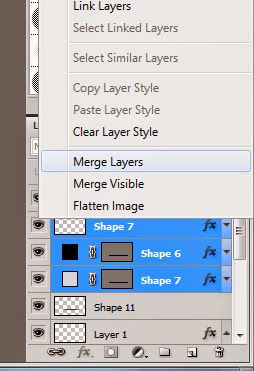
To create a reflection effect duplicating the results of Merge Layers menu and then select Edit -> Transform -> Flip Vertical. Slide under the shadow of the reflection layer.

Step 20
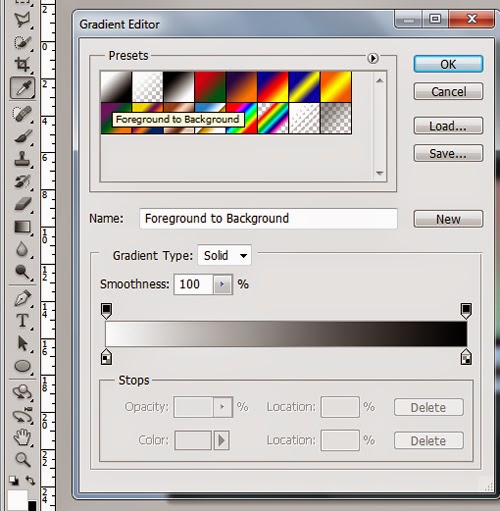
Select the Add Layer Mask menu and activate the Gradient tool. Kik and drag from the top down.
The final result.


Comments
Post a Comment