11 Easy Steps to Create 3d Effect Photo Manipulation
.jpg)
In this tutorial I will show to you easily create 3D photo effect in Photoshop. Using the elephant image that I put in a picture frame where the elephants seemed to be out of the picture frame, how to make it? Let's get started!
Picture used in this tutorial
Step 1
First create a new document of 900 * 800 pixels, color background with color code #e3e3c8.

Step 2
Change Color Set Foreground Color to white, use the Rectangle Tool to create a picture frame.

Step 3
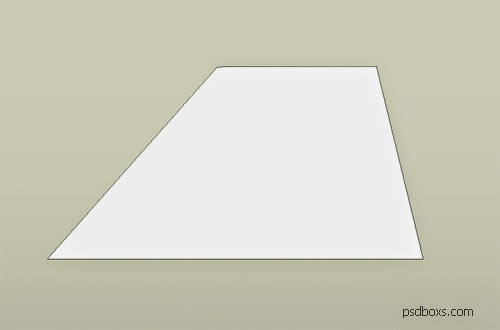
Go to Edit -> Transform Path-> Distort. Change the shape like in the picture below.

Step 4
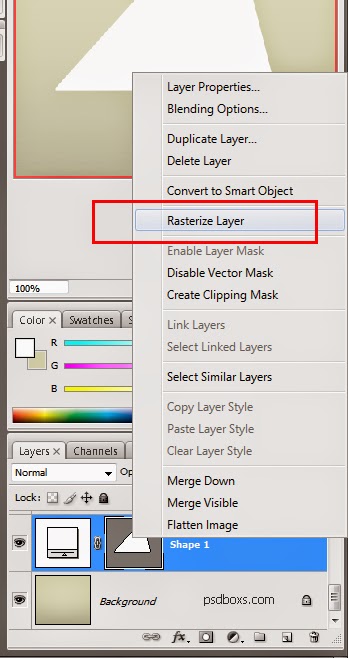
Right-click the layer Shape1 selects Rasterize Layer

Step 5
Go menu Select -> Load Selection to select the picture frame.

Step 6
Go menu Select -> Modify -> Contract input 15px value.

Step 7
Change the Set Foreground Color to a dark color; use the Paint Bucket Tool for coloring.
.jpg)
Step 8
Press Ctrl + Alt + Up Arrow on your keyboard to duplicate as much as 10 times. Choose a Shape layer 1 to Shape 1 copy 9 go to the menu Layer -> Layer Marge (Ctrl + E).
.jpg)
.jpg)
.jpg)
Step 9
Add a Gradient Overlay and Drop Shadow on the Shape Layer 1 copy 9.
.jpg)
.jpg)
.jpg)
Step 10
Go to the menu File -> Place open the elephant image, set the opacity to 30% and use Pent Tool to create selection.
.jpg)
.jpg)
.jpg)
.jpg)
Step 11
Press Shift + Ctrl + I and Delete to delete the selection out. And set the opacity to 100%
.jpg)

.jpg)
.jpg)
.jpg)
.jpg)
Comments
Post a Comment