
PSD Tutorial : Create A Realistic Coffee Cup

Creating realistic cup of coffee is not difficult. You can utilize smart tools in Photoshop. In this tutorial will explain how to create a realistic coffee cup using Photoshop. Well just let's get started!
Step 1
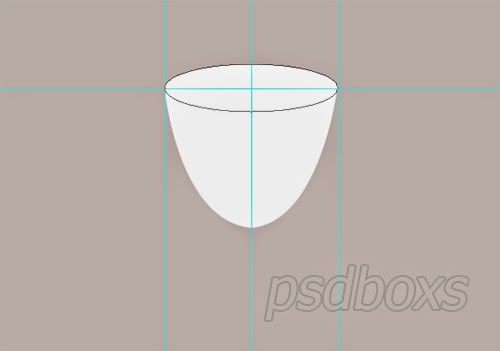
Create a new document width: 600px height: 500px and choose View - New Guide 200px Vertical position the guide, 300px, 400px 150px Horizontal see in the image below.
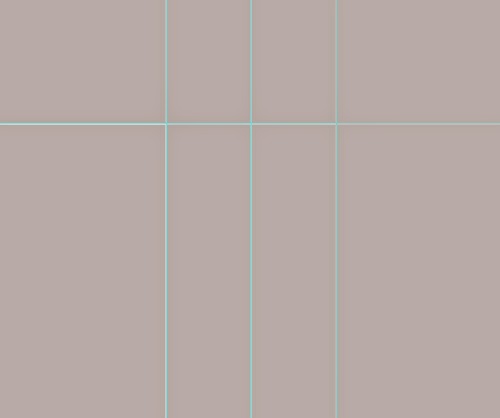.jpg "PSD Tutorial : Create A Realistic Coffee Cup")
Step 2
Use the Pen Tool to create selection as shown in the picture below.
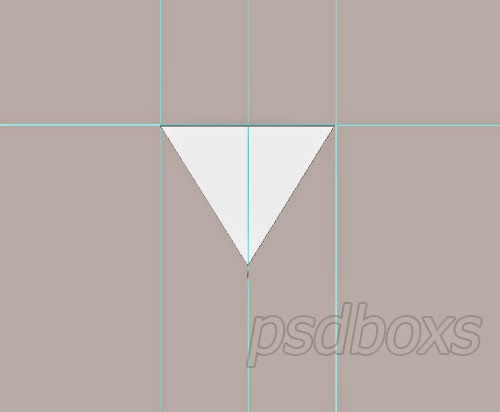.jpg "PSD Tutorial : Create A Realistic Coffee Cup")
Step 3
Click and hold down the bottom end of the slider to the right to use the Convert Point Tool.
.jpg "PSD Tutorial : Create A Realistic Coffee Cup")
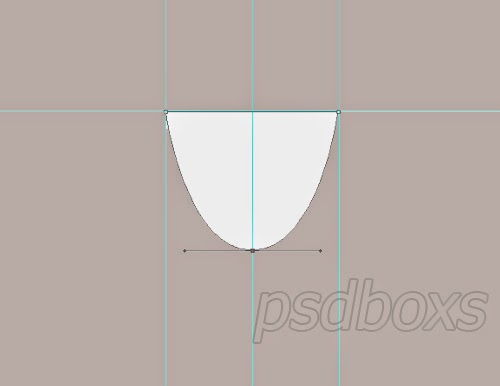.jpg "PSD Tutorial : Create A Realistic Coffee Cup")
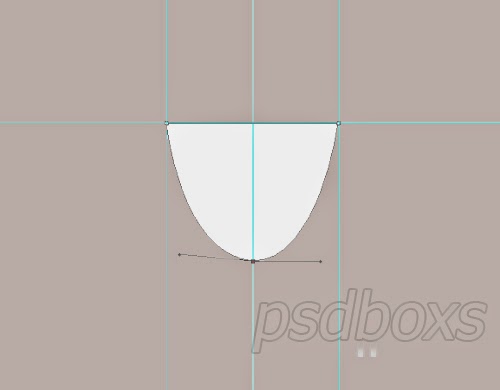.jpg "PSD Tutorial : Create A Realistic Coffee Cup")
Step 4
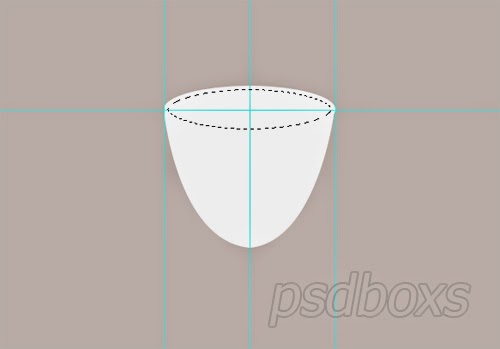
The next step create the circle with the Ellipse Tool.
.jpg "PSD Tutorial : Create A Realistic Coffee Cup")
Step 5
Selection of the circle and choose Select - Modify - Contract input number 4.
.jpg "PSD Tutorial : Create A Realistic Coffee Cup")
.jpg "PSD Tutorial : Create A Realistic Coffee Cup")
Step 6
Create a new layer and fill the white color do change the Set Foreground Color white color and press alt + delete on the keyboard.
.jpg "PSD Tutorial : Create A Realistic Coffee Cup")
Step 7
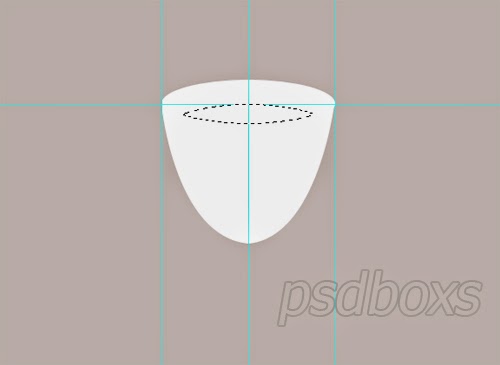
Still in a state selected at layer 1 using the Elliptical Marquee Tool and activate the Intersect with selection create a selection like in the image below.
.jpg "PSD Tutorial : Create A Realistic Coffee Cup")
.jpg "PSD Tutorial : Create A Realistic Coffee Cup")
Step 8
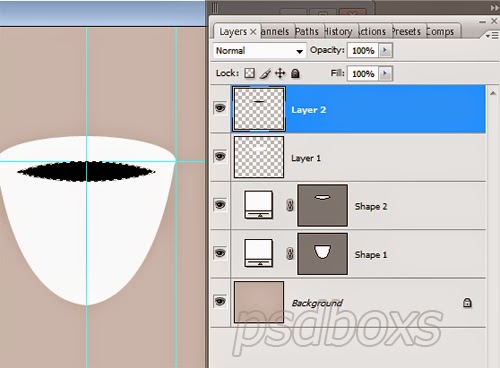
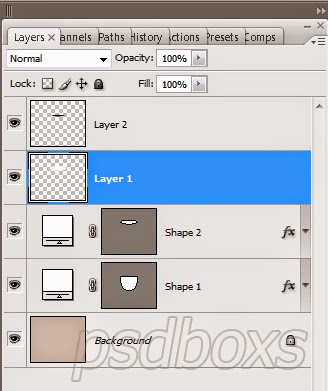
Create a new layer and fill the selection with black.
.jpg "PSD Tutorial : Create A Realistic Coffee Cup")
.jpg "PSD Tutorial : Create A Realistic Coffee Cup")
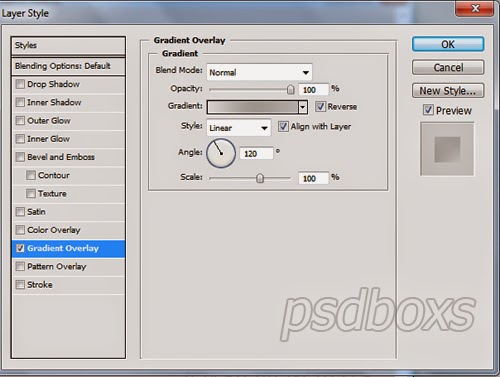
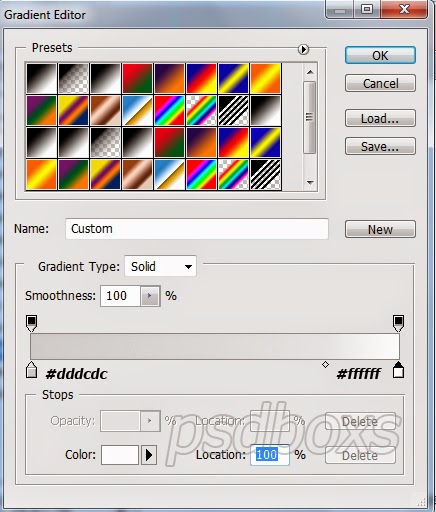
Click the Shape1 layer add a Gradient Overlay layer style and set as shown below.
.jpg "PSD Tutorial : Create A Realistic Coffee Cup")
.jpg "PSD Tutorial : Create A Realistic Coffee Cup")
.jpg "PSD Tutorial : Create A Realistic Coffee Cup")
.jpg "PSD Tutorial : Create A Realistic Coffee Cup")
Step 10
Click the Shape2 Layer add a Gradient Overlay layer style and set as shown below
.jpg "PSD Tutorial : Create A Realistic Coffee Cup")
.jpg "PSD Tutorial : Create A Realistic Coffee Cup")
.jpg "PSD Tutorial : Create A Realistic Coffee Cup")
Step 11
Click on Layer 1 add a Gradient Overlay layer style and set as shown below.
.jpg "PSD Tutorial : Create A Realistic Coffee Cup")
.jpg "PSD Tutorial : Create A Realistic Coffee Cup")
.jpg "PSD Tutorial : Create A Realistic Coffee Cup")
.jpg "PSD Tutorial : Create A Realistic Coffee Cup")
Step 12
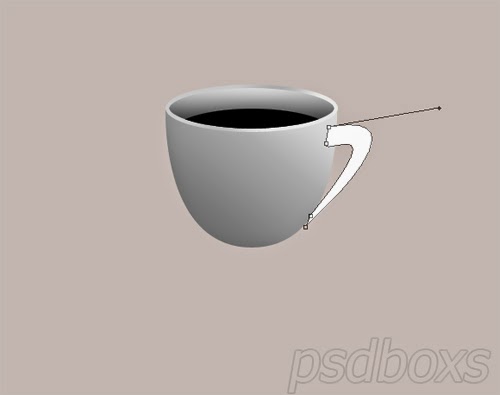
Use the Pen Tool to create a handle of the cup, see picture below.
.jpg "PSD Tutorial : Create A Realistic Coffee Cup")
Step 13
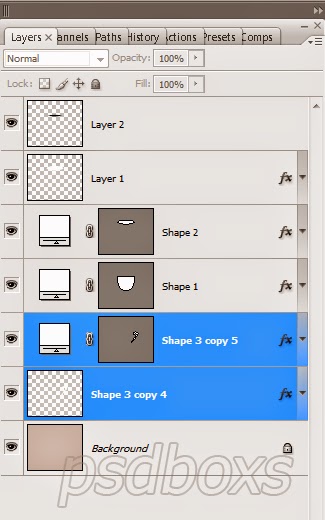
Press ctrl + alt and press the right arrow on your keyboard to duplicate shape3 five times.
.jpg "PSD Tutorial : Create A Realistic Coffee Cup")
Step 14
Selection Shape3 to Shape 3 Copy 4 and press Ctrl + E to create Shape into one.
.jpg "PSD Tutorial : Create A Realistic Coffee Cup")
.jpg "PSD Tutorial : Create A Realistic Coffee Cup")
Step 15
Click the Shape 3 copies 5 Layer add a Gradient Overlay layer style and set as shown below.
.jpg "PSD Tutorial : Create A Realistic Coffee Cup")
.jpg "PSD Tutorial : Create A Realistic Coffee Cup")
.jpg "PSD Tutorial : Create A Realistic Coffee Cup")
Step 16
Click the Shape3 Copy 4 Layer add a Gradient Overlay layer style and set as shown below.
.jpg "PSD Tutorial : Create A Realistic Coffee Cup")
.jpg "PSD Tutorial : Create A Realistic Coffee Cup")
.jpg "PSD Tutorial : Create A Realistic Coffee Cup")
Step 17
Move Shape3 copy 5 and Shape3 copy 5 under shape 1.
.jpg "PSD Tutorial : Create A Realistic Coffee Cup")
.jpg "PSD Tutorial : Create A Realistic Coffee Cup")
Step 18
Now create a place for cup plates. Using the Pen Tool create circle of white color at the bottom of the cup.
.jpg "PSD Tutorial : Create A Realistic Coffee Cup")
Step 19
Put the cursor over the Shape 3 Layer press ctrl + alt up arrow on the keyboard six times. Selection Shape3 to Shape 3 copy 6 and then select the menu Select Layer - Marge Layers (Ctrl + E) to unify layer.
.jpg "PSD Tutorial : Create A Realistic Coffee Cup")
Step 20
Add a gradient overlay layer style in Shape 3 copy 6 set as shown below.
.jpg "PSD Tutorial : Create A Realistic Coffee Cup")
.jpg "PSD Tutorial : Create A Realistic Coffee Cup")
Step 21
Add a gradient overlay layer style, Inner Shadow, Drop Shadow in Shape 3 copy 5 set as shown below.
.jpg "PSD Tutorial : Create A Realistic Coffee Cup")
.jpg "PSD Tutorial : Create A Realistic Coffee Cup")
.jpg "PSD Tutorial : Create A Realistic Coffee Cup")
.jpg "PSD Tutorial : Create A Realistic Coffee Cup")
.jpg "PSD Tutorial : Create A Realistic Coffee Cup")
Step 22
The next step to make shadow cup. Using the Ellipse Tool and filled with black color.
.jpg "PSD Tutorial : Create A Realistic Coffee Cup")
Step 23
Add a Gaussian Blur with a radius of 27px value. Change Layer Opacity: 68%
.jpg "PSD Tutorial : Create A Realistic Coffee Cup")
Step 24
Repeat step number 23 with a smaller circle size and minimize the value of the radius. Change Layer Opacity: 21%
.jpg "PSD Tutorial : Create A Realistic Coffee Cup")
Step 25
Create a white object using the Pen Tool and then change the Fill: 54%. Look at the picture below.
.jpg "PSD Tutorial : Create A Realistic Coffee Cup")
Step 26
Duplicate last object and change the color # a8a6a6. Next select the Edit menu - Transform - Flip Horizontal toggle Fill: 75%.
.jpg "PSD Tutorial : Create A Realistic Coffee Cup")
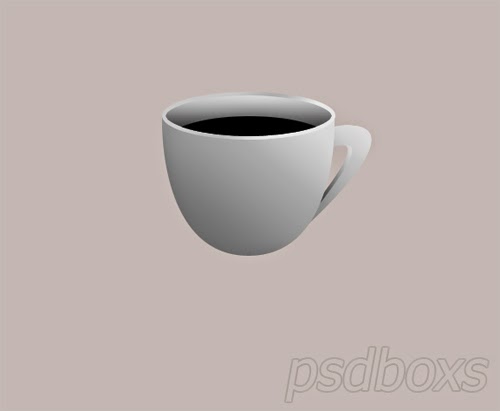
Step 27
And this is the final result. Well done!


you are a star in my world. a model and a mentor
ReplyDeletestep 5 is not working for me
ReplyDelete