Create Windows Logo In Photoshop CS5
In this tutorial I will show how to create the windows logo using Photoshop CS5. The design is quite simple and easy here we will learn to create objects using Rectangel Tool that will be transformed into a curve. Let's follow the step by step tutorial create windows logo in Photoshop CS5!
Step 1
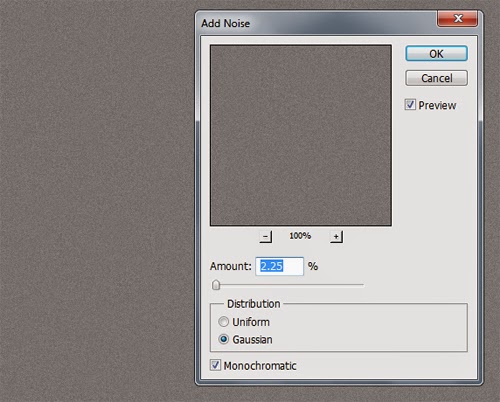
Open Photoshop CS5 a program for document size height 800px width 700px background color gray # 7a7a7a. Choose Filter -> Noise -> AddNoise and set like in the picture below.
Step 2
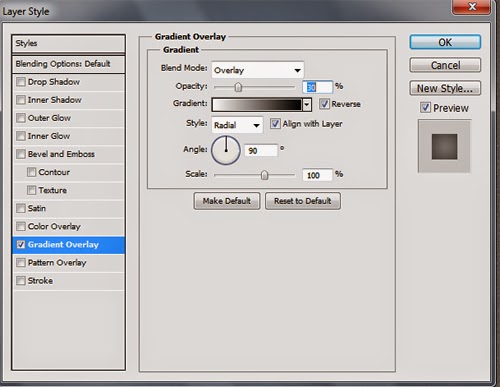
Add a layer style on the background layer Gradient Overlay.

Step 3
Activate the Rounded Rectangle Tool create a rectangle as shown below.

Step 4
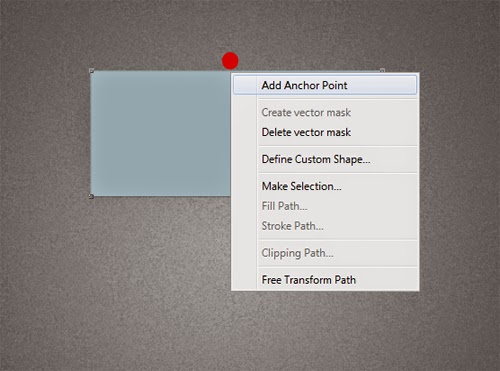
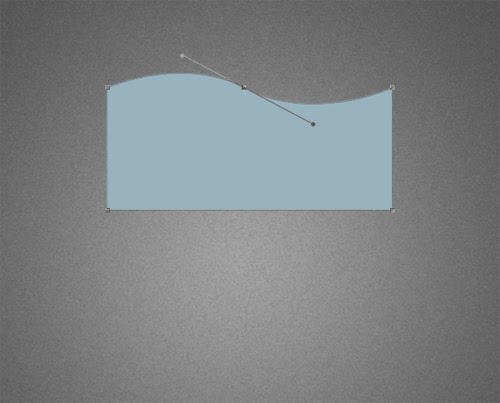
Activate the Direct Selection Tool right click on the top center of the box and select the Add Anchor Point. Look for this the picture below.
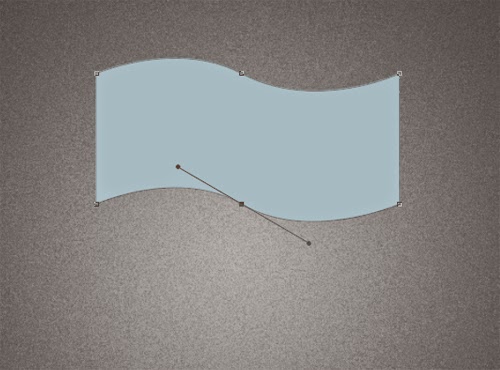
Step 5
Rename Shape 1 into windows 1. Then duplicate layer 1 and slide down the windows see the picture below.
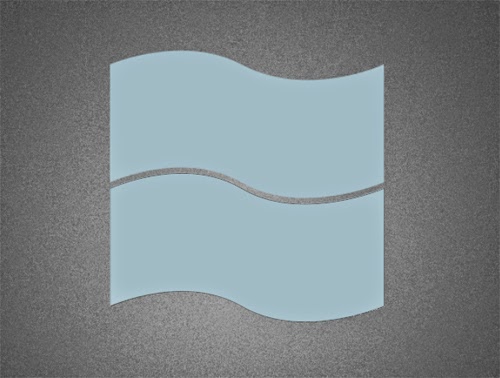
Step 6
Select windows 1 and windows 2 merge two layers by Merge Layers (ctrl + e).
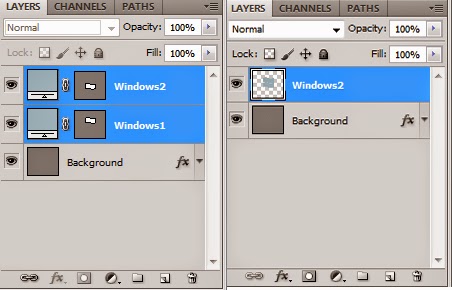
Step 7
Now cut in the middle of using the Eraser Tool.
Step 8
Select Edit -> Transform -> Skew slide the middle slider over to the right.
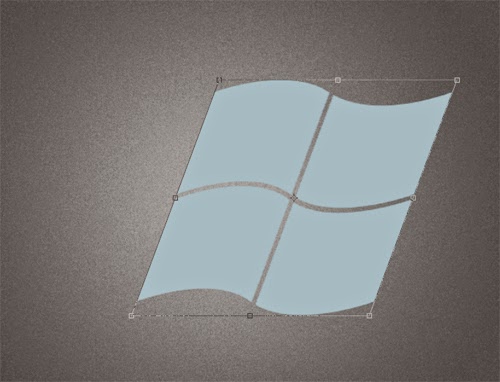
Step 9
The next step is to separate each window. The selection of the first window using the Polygonal Lasso Tool.
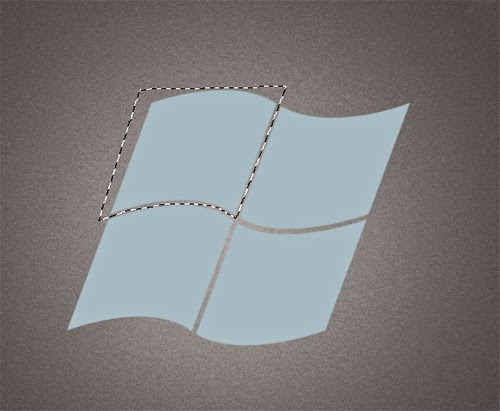
Step 10
Select Edit -> Cut (Ctrl + X) after the cut to Edit -> Paste Special -> Paste In Place and rename the layer Win1. Do the same on the right and bottom.
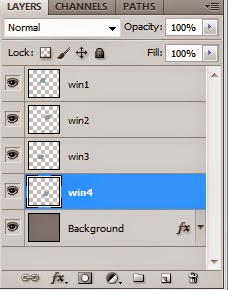
Step 11
Now add layer styles: Gradient Overlay layer: Win 1, Win2, Win3, and Win4.
Wind 1
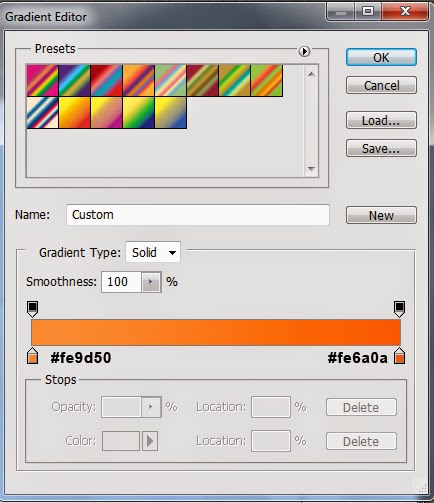
Win 2
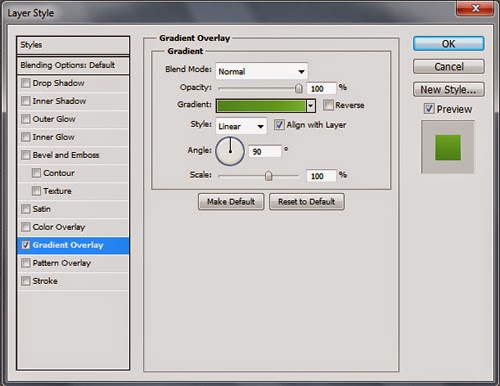
Win 3
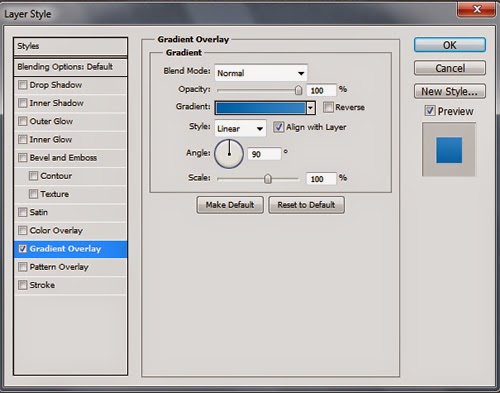
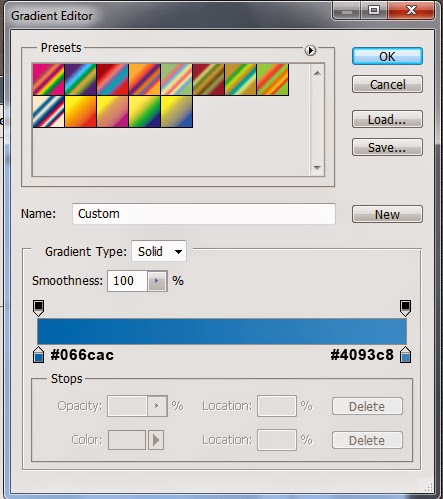
Win 4
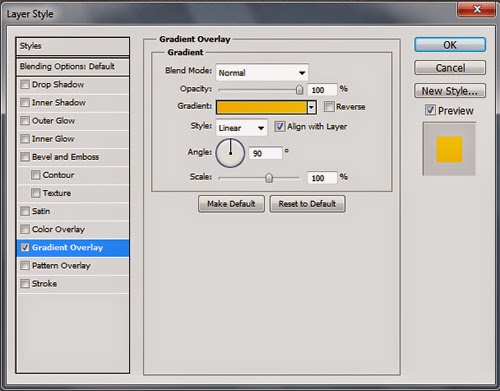
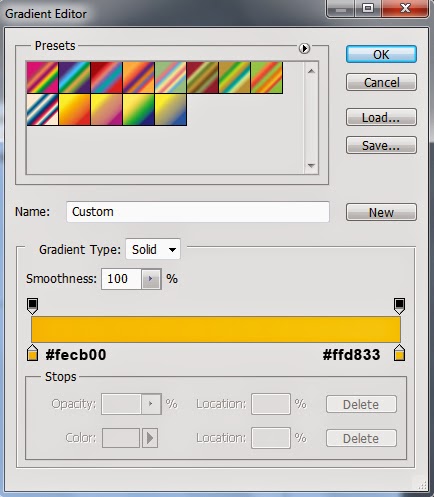

Step 12
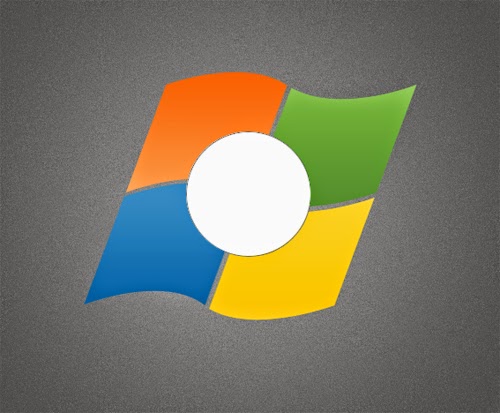
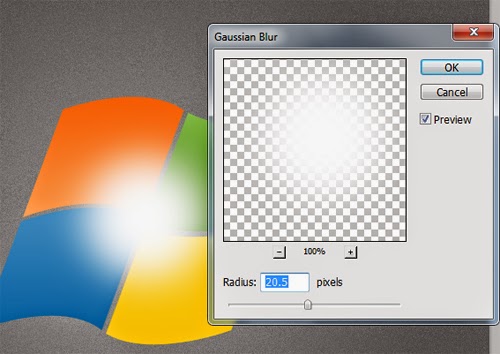
Activate the Ellipse Tool to create a circle of white color and choose Filter -> Blur -> Gaussian Blur.
Step 13
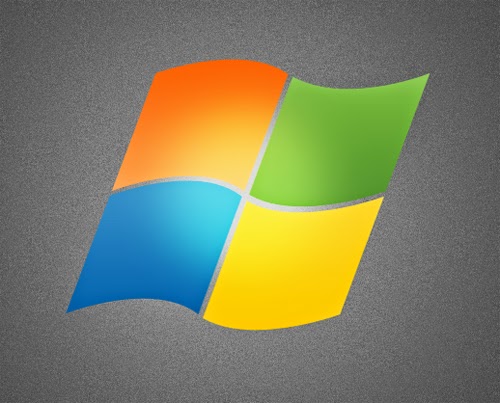
Change the Blend Mode: Overlay and Opacity: 67%.
Step 14
Combine layers Win1, Win2, Win3, Win4 into one layer (Ctrl + E). Put in a layer Shape 1ke Win1 press the Alt key and click between layers shape1 - Win1.
Step 15
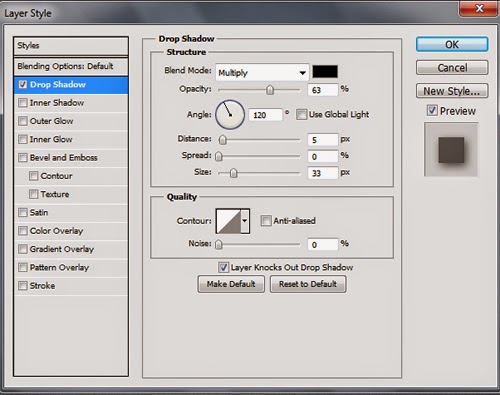
The last step to add layer styles: Drop Shadow on Win 1 layer.
The final result


Comments
Post a Comment