Photoshop Tutorial : Create Logo BMW in Photoshop

In this tutorial I will show step by step create the BMW logo with Photoshop. Don't worry for those of you who are just learning basic Photoshop, this tutorial is very easy to follow. So let's get started!.
Step 1
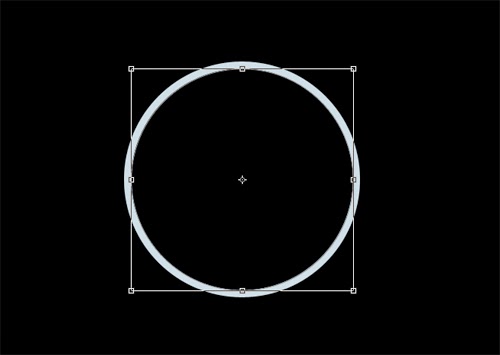
Create a new document size width: 800px height: 600px dark background color. Activate the Ellipse Tool to create a circle of colors - gray # bfd3de and rename Ell1.

Step 2
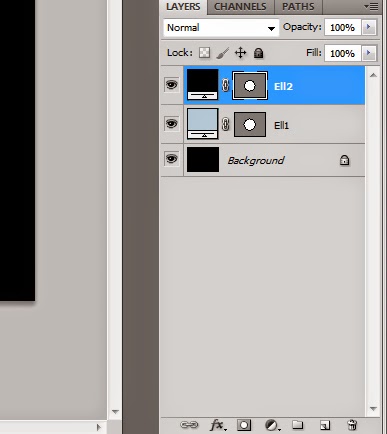
Select menu Layer -> Duplicate Layer rename Ell2. Replace with black and change the size of the smaller circle.
Step 3
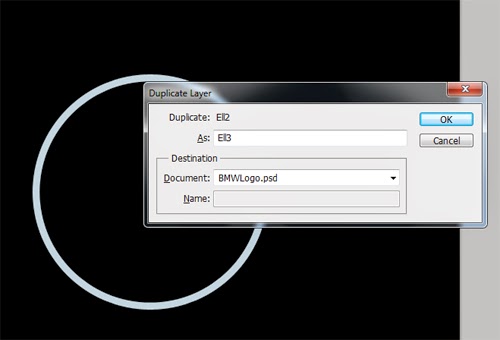
Duplicate the layer and rename it Ell2 Ell3. Change the color of the layer Ell3 - gray # bfd3de and minimize size.
Step 4
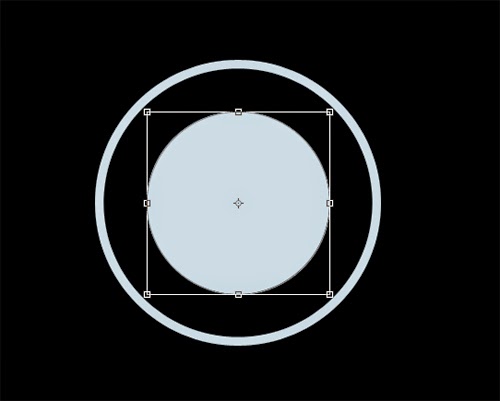
Duplicate the layer and rename it Ell3 Ell4. Change the color to black layer Ell4 and minimized in size.

Step 5
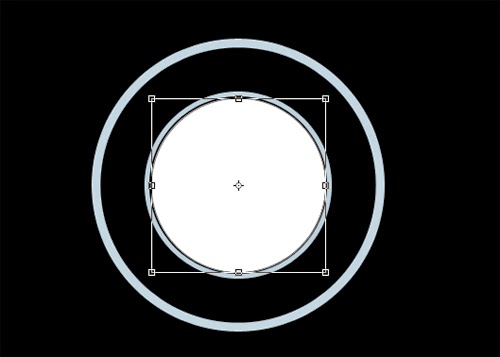
At this stage the results of the design should be like in the picture below.

Step 6
Create a circle that you can duplicate your last Ell4 or create a new layer using the Ellipse Tool. Paint with white and rename the layer Ell5.
Step 7
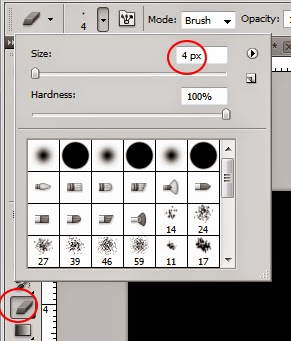
Select menu Layer -> Rasterize -> Shape. Activate the Eraser Tool set size 4px Ell5 remove layers as shown below.

Step 8
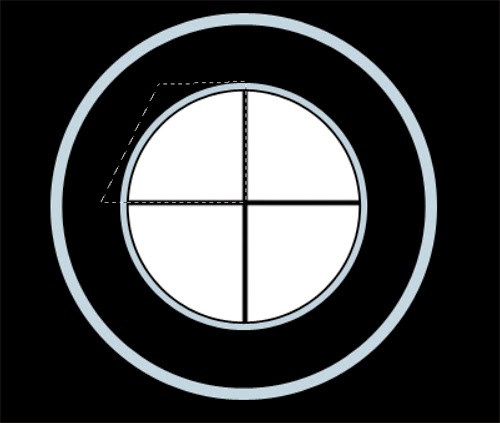
Activate the Polygonal Lasso Tool create a selection in the first field.
Step 9
Choose Edit -> Cut then press the button (Shift + Ctrl + V) on the keyboard and name the layer C1.


Step 10
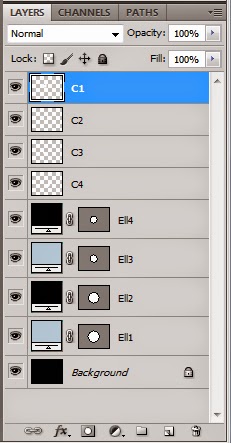
Do the same on all three fields and renamed C2, C3, C4.
Step 11
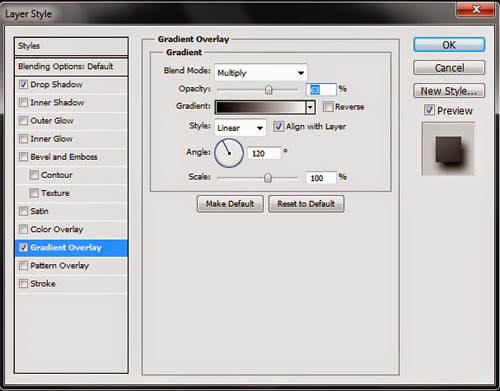
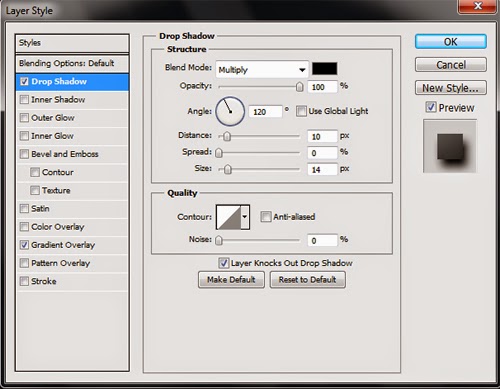
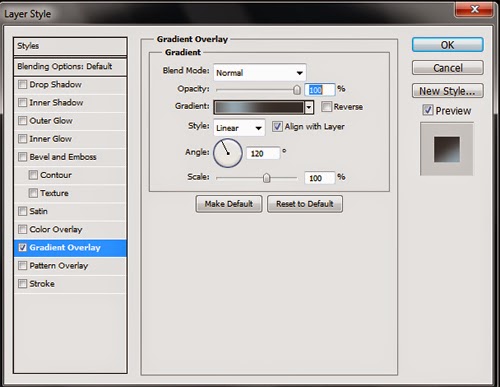
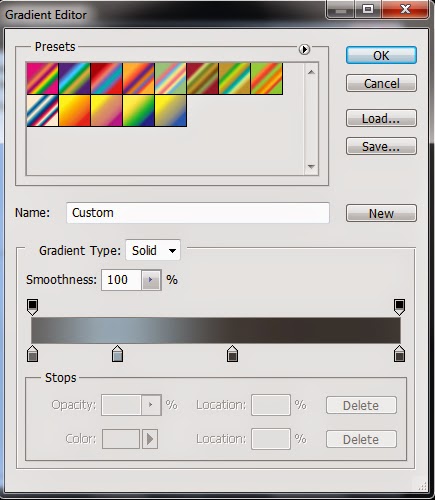
Click on the layer and add a Layer Style Ell1: Gradient Overlay, Drop Shadow.

Step 12
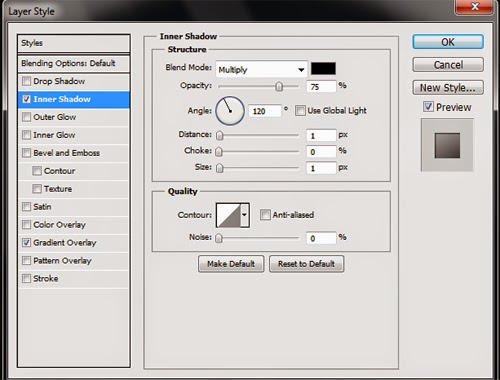
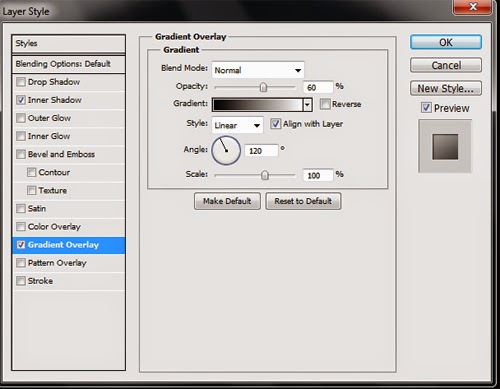
Click to add a Layer Style Ell2 layer: Inner Shadow, Gradient Overlay.

Step 13
Click to add a Layer Style Ell3 layer: Gradient Overlay.

Step 14
Activate the Horizontal Type Tool for BMW writing Ell3 follow the path layer. Change the size and position as shown below.

Step 15
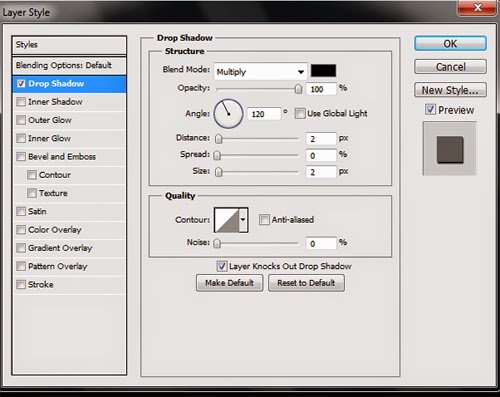
Add Layer Styles: Drop Shadow to text BMW.
Step 16
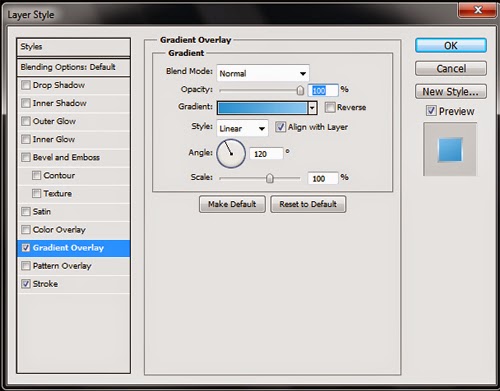
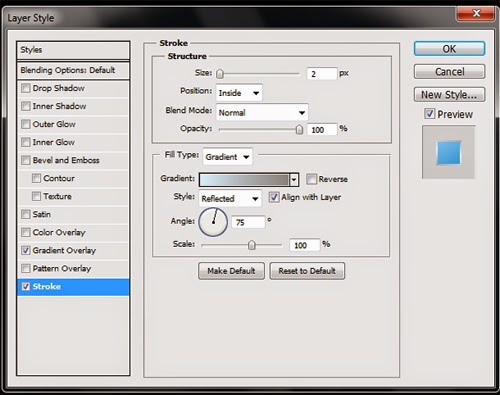
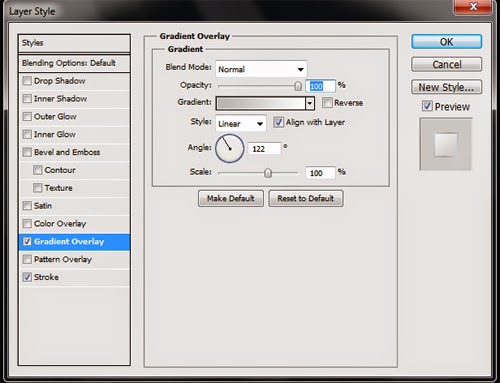
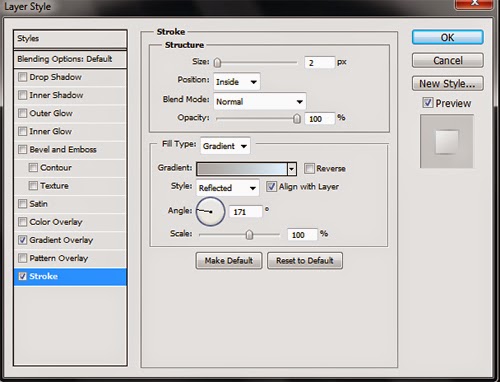
Add Layer Style to the layer C1, C2, C3, C4.
C1
C3
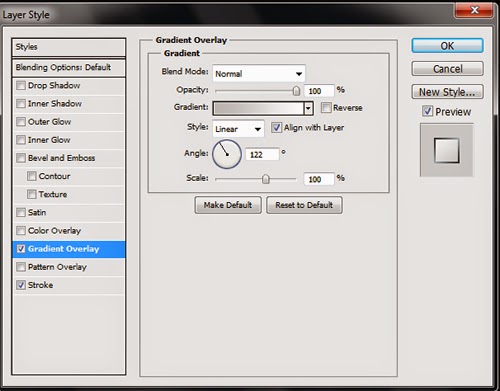
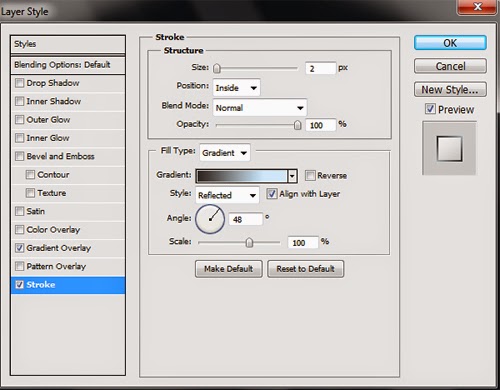
C4
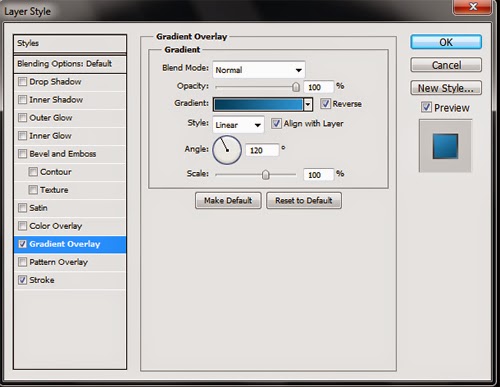
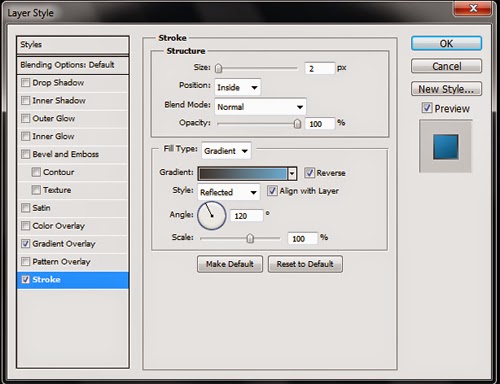
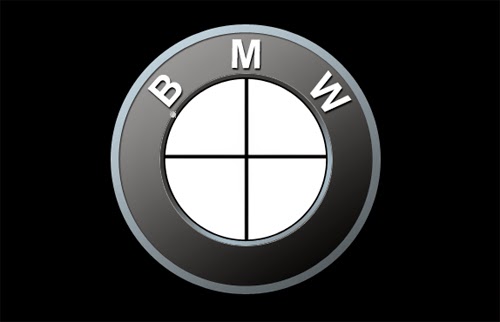
Final Result


Comments
Post a Comment