Make a Bottle Coffee In Photoshop
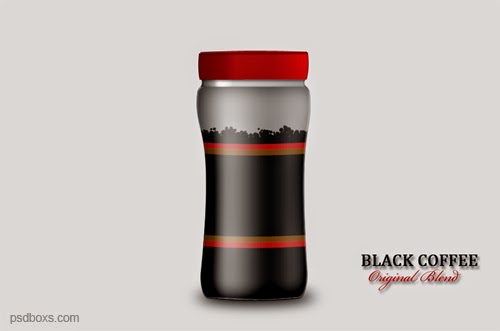
In this tutorial I will show you how to make a bottle of coffee using Photoshop. Design will be studied very simple and easy. Let's get started!
Step 1
Create a new document sized 1000 * 800 pixels and activate
Rounded Rectangular Tool

Step 2
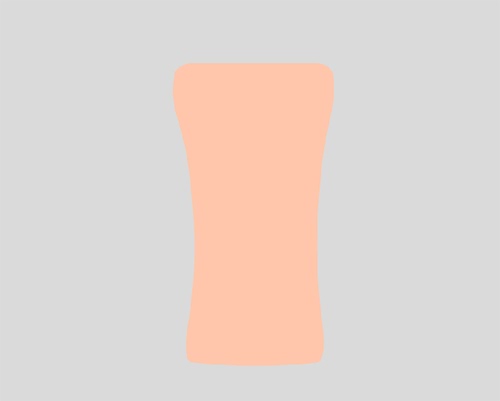
Choose Edit -> Transform -> Scale and click Switch between
Transform and Warp Models.
.jpg)
.jpg)
Add layer styles: Drop Shadow, Inner Shadow, Bevel and
Emboss, Gradient Overlay, Satin.
.jpg)
.jpg)
.jpg)
.jpg)
.jpg)
.jpg)
Shape1 layer and change the Selection Set Foreground Color black.

Create a new layer and activate Brush Tool menu
.jpg)
.jpg)
.jpg)
.jpg)
.jpg)
Change the Blend Mode: Overlay

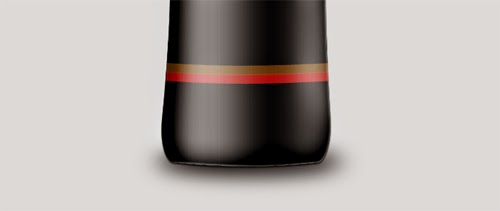
Activate Rectangular Tool to create a line of red and brown.
Set a curve with Switch between Transform and Warp Models as in step number
two.

Step 8
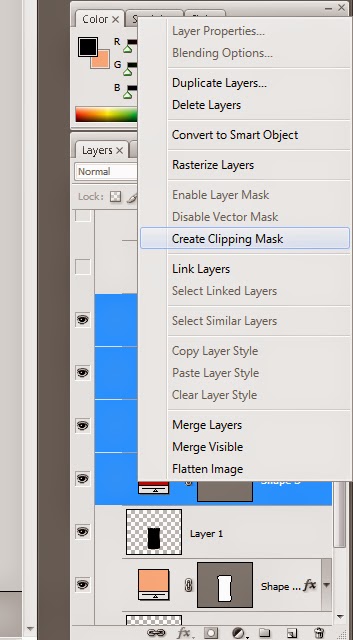
Set opacity: 76% and choose Create Clipping Mask.
.jpg)
.jpg)
.jpg)
Activate the Pen Tool create fields as shown below.

Add a layer style: Inner Glow, Gradient Overlay.
.jpg)
.jpg)
.jpg)
Now we will make the cap activate Rectangular Tool menu and
make the right and left margins slightly curved.
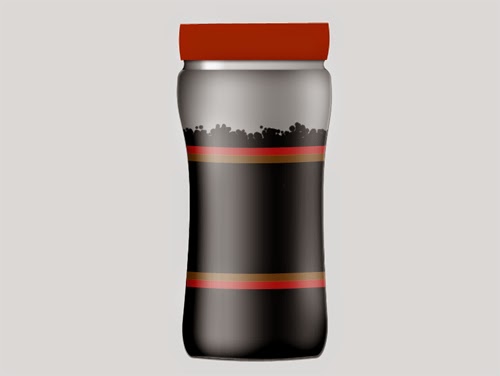
Step 12
Shape2 duplicate layer and slide down Shape3.
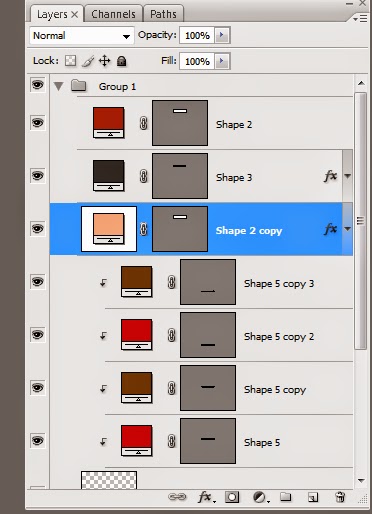
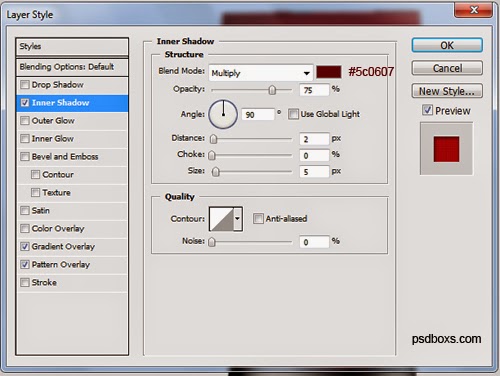
Select Shape2 layer and add layer styles: Inner Shadow,
Gradient Overlay, and Pattern Overlay.
.jpg)
.jpg)
.jpg)
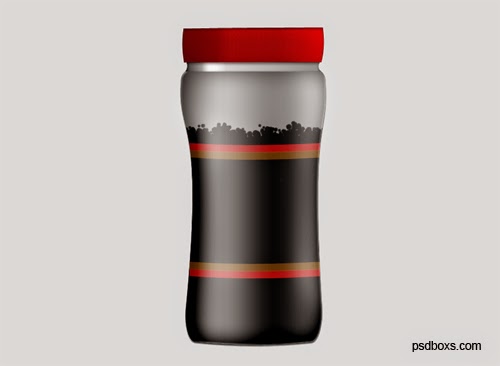
Select the layer Shape Copy create on curved lines.
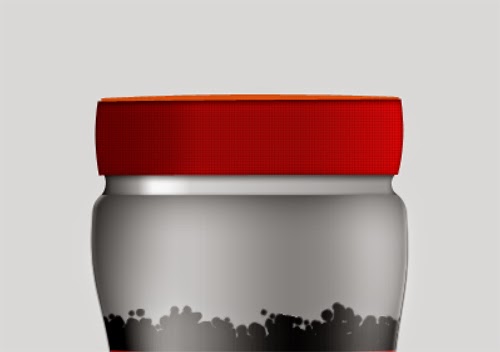
Add Layer Style: Gradient Overlay.
.jpg)
.jpg)
The last step to create a shadow you can use the Ellipse
Tool and choose Filter -> Blur -> Gaussian Blur.


.jpg)
.jpg)
Comments
Post a Comment