Create a Chalkboard and Ornament Style Wedding Invitation Card In Photoshop

In this tutorial you’ll learn how to create a chalkboard and ornaments style wedding invitation card in Adobe Photoshop CC. Here I made the background of the chalkboard style with noise effects and custom brushes natural. To enhance the look of the invitation card, I added ornament on the frame. This tutorial is very easy and may be useful for beginners. Let's get started!
Tutorial Resources:
Book Ornaments
Tutorial Resources:
Book Ornaments
Step 1
Open a new document with dimensions 5×7 Inch, 300dpi and color mode to CMYK.

Step 2
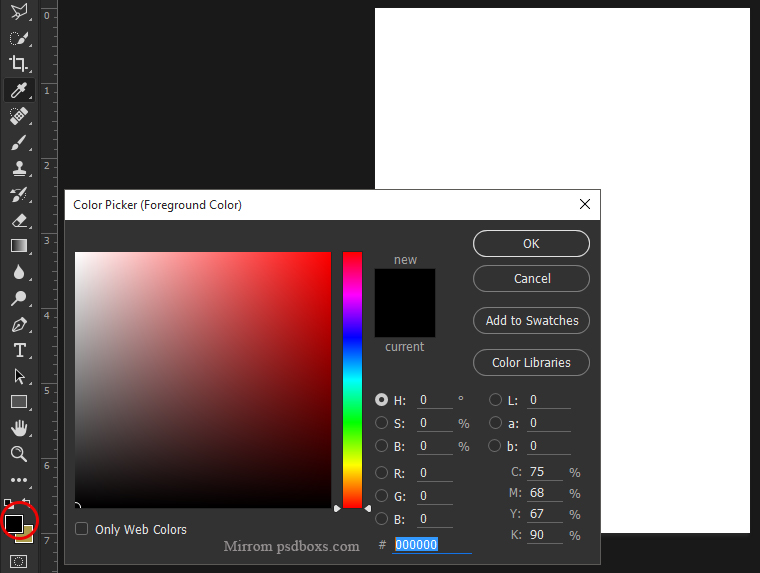
Set the foreground color black. Create a new layer and press Alt + Backspace

Step 3
Set the foreground color white. Create a new layer and press Alt + Backspace to fill the white color on the layer.

Step 4
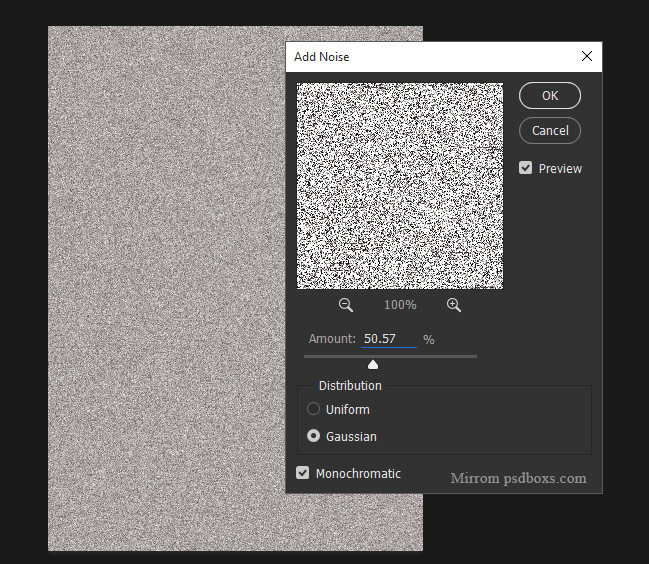
Choose Filter > Noise > Add Noise. Set as the picture below!

Step 5
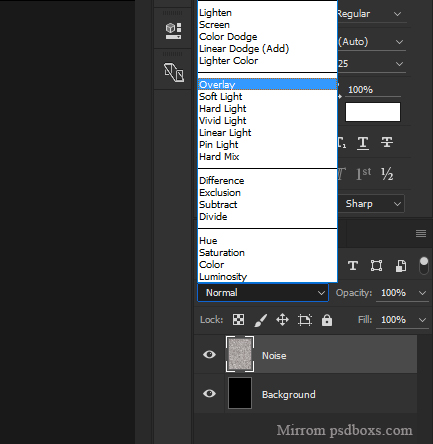
Set the blending mode to overlay and opacity 64%

Step 6
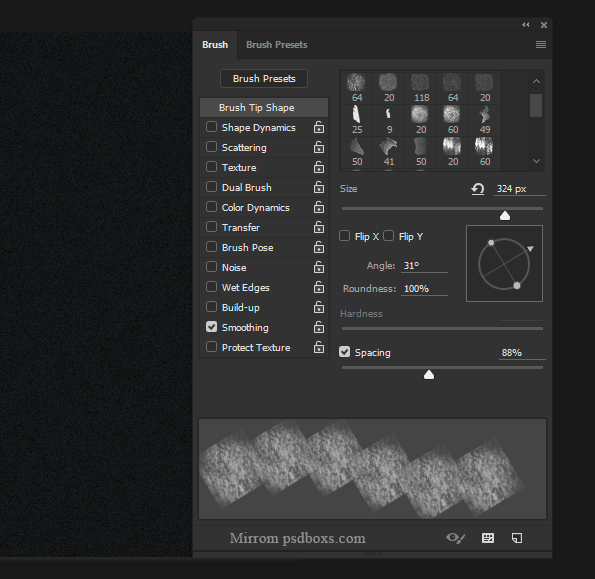
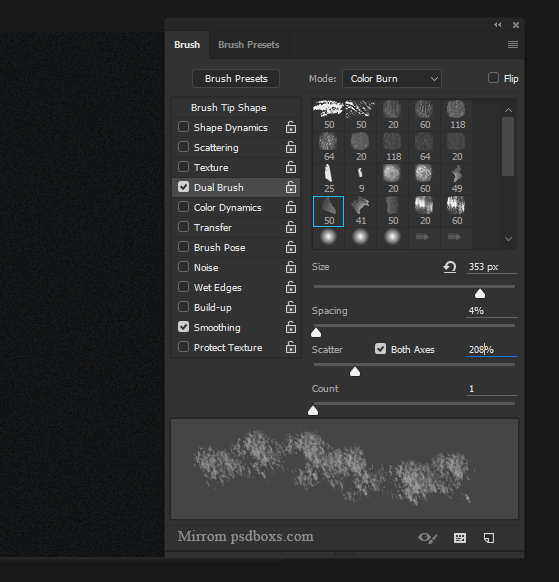
Create a new layer. Open the brush preset picker choose Natural Brushes 2. Here I use the Dark Pastel 64 pixels and press F5 to open Toggle the Brush Panel and set it as the picture below!

Step 7
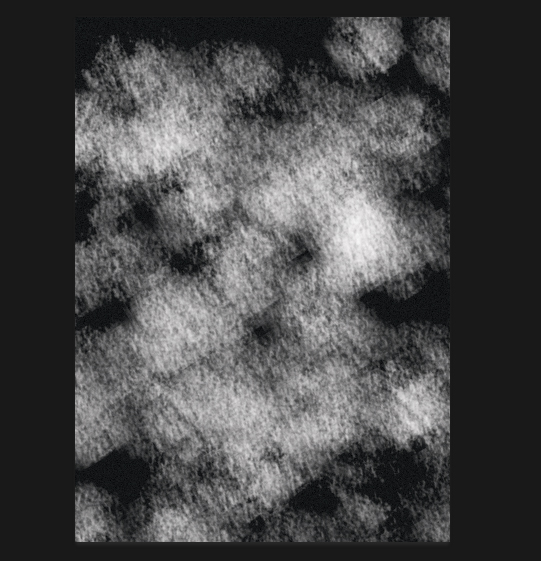
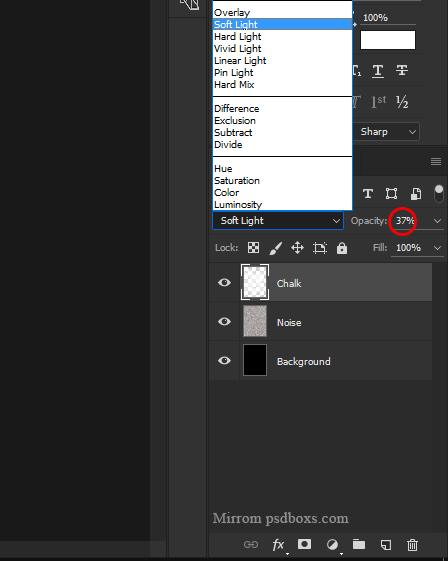
Create the effect of chalk with a brush that is already set. Set the blending mode to Soft Light and opacity 37%.
Step 8
Add layer mask. We'll remove the mask technique, do this by gently


Step 9
Add a layer mask to the layer Noise. Use the Gradient Tool to remove the right, left, up and down


Step 10
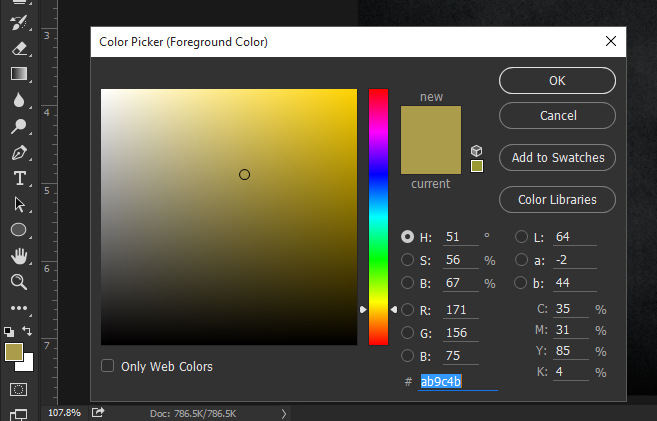
Activate the brush tool (B), use the brush Book Ornaments to make a frame. Create in the top right corner and bottom left corner.


Step 11
Remove the top right corner and bottom left corner of the layer of chalk, noise and background layers.

Step 12
Now we add the wording we using Time New Roman and Italic Vivaldi

For the complete tutorial please see the video below!


Comments
Post a Comment